|
|
|
|
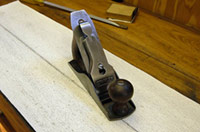
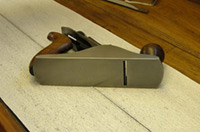
| I'll use a Stanley Bailey #2 type 4 for this pictorial. I did cheat a bit... I've already given the lever cap, chip breaker & iron a lash with the Scotch-Brite wheel but I'll cover it again later on. |
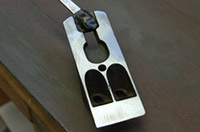
I usually lap the sole & sides first so I don't damage any new paint work later. |
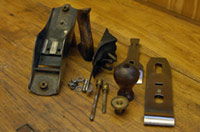
I then pull the plane apart & start on the hardware, e.g.. screws, rods & brass adjuster wheel etc. |
 |
 |
|
I then pull the plane apart & start on the hardware, e.g.. screws, rods & brass adjuster wheel etc. |
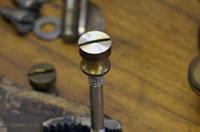
With the rods clean I turn my attention to the brass nuts that hold the knob & tote. These are usually damaged by some oaf using a screwdriver that's too small. It's quite easy to fix a slightly mangled nut. |
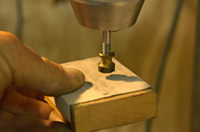
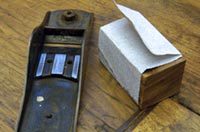
I put the brass nut on a short rod & put it in a drill press. Using a small block of timber with some P180 on it I give it a quick sand. |
|
|
|
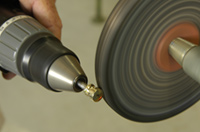
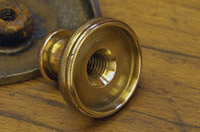
Here it is after sanding & before polishing. | I then put the rod & nut in a cordless drill & polish it with a buffing wheel (stitched cloth) on a bench grinder. The polish I use is called Multi-Shine, it's a light blue colour. |
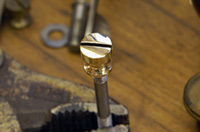
The finished thing! |
 |
 |
|
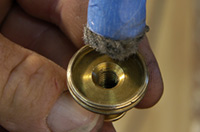
When I do the levercap retaining screw I protect the thread with masking tape |
It receives the same treatment as the brass nuts.
|
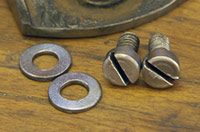
I remove all the rust from the frog retaining screws & washers using the wire wheel. |
 |
 |
|
Next I move on to the brass adjustment wheel. Here it's being polished on the buffing wheel. |
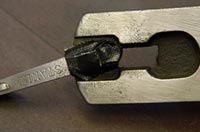
I use a high-tec solution for polishing the recess of the wheel. A piece of dowel with a saw kerf about 15mm long in the end of it. I then slot some cloth for polishing &......... |
I use steel wool taped over the tip to do the initial cleaning |
|
|
|
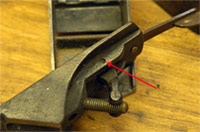
| Finished adjustment wheel, nice ;)) | If you need to you can remove the depth adjustment yoke by knocking out the indicated pin. It does make the masking & painting of the frog easier. |
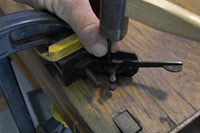
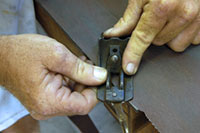
Here I'm removing the yoke pin. Be sure that the pin drift is SMALLER than the pin as you don't want it stuck in the hole. |
 |
|
|
Now I have it apart. After bitter experience I learned to put the pin IMMEDIATELY with the other fittings. |
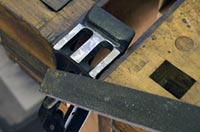
While I have the frog in hand I check & flatten the base if needed. | I also do the frogs' mounting points on the plane base. Just a block of timber wrapped with some sandpaper will sort it out. |
|
|
|
I also lap the plane iron bed on the frog. I put some duct tape around the lateral adjuster so it won't be damaged. |
The frog is lapped at the very edge of a bit of glass with sandpaper attached because the lateral adjustment wheel is proud of the plane iron bed. |
Finished! |
| |
|
|
